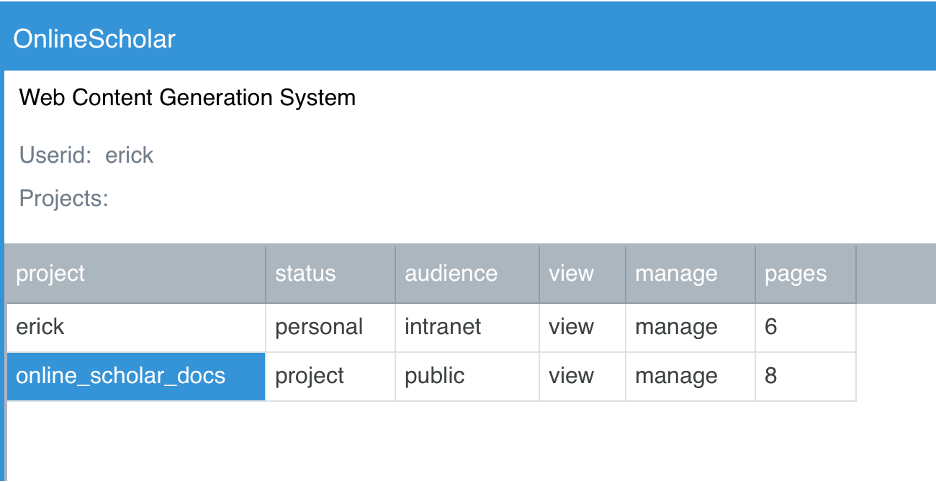

Starting in the project menu, select a personal page or a project page..
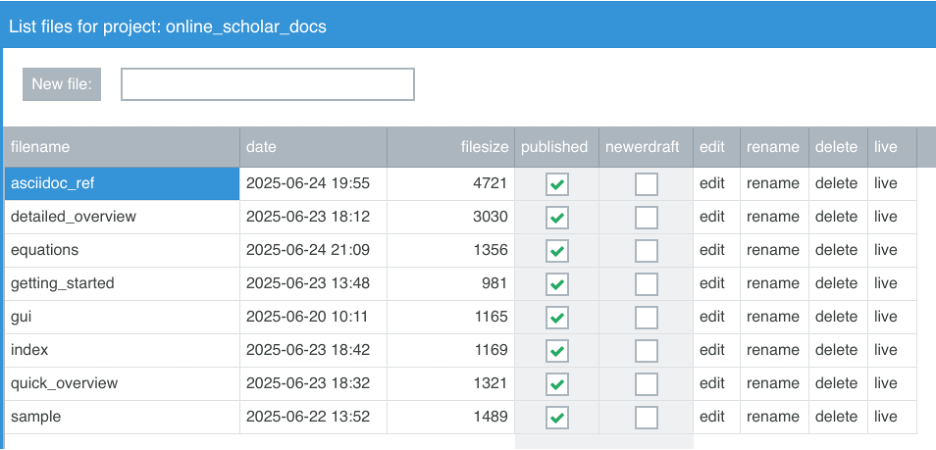
Once you select a project, you are given a file list. Either select a file to edit, or enter a new file. Don’t specify the file extension, that is automatic.
The file list box shows which pages have been published to the web, and if there is a newer unpublished draft.
This puts you into the project file editor, where you will edit your project while simultaneously viewing the expected output.
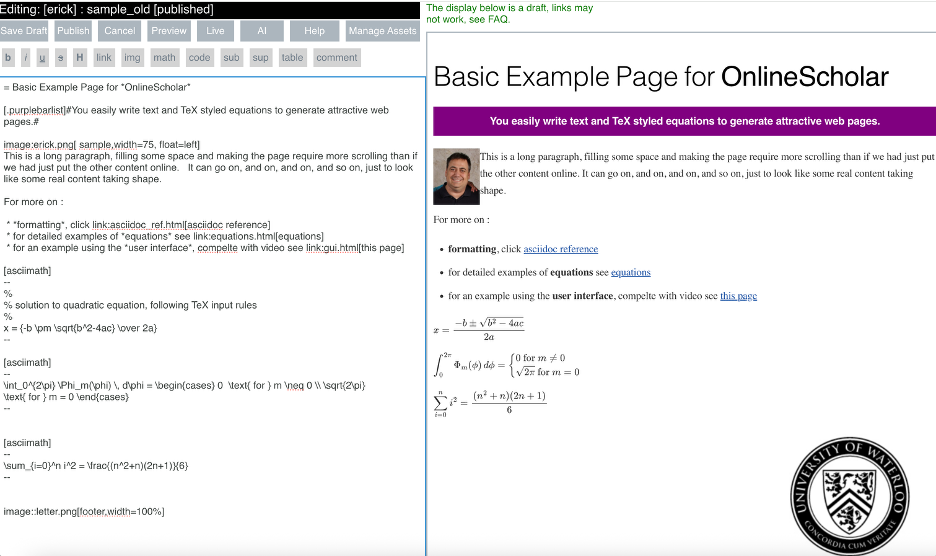
Attach assets like Jpeg and PNG images using the project assets pane, by pressing Manage Assets.
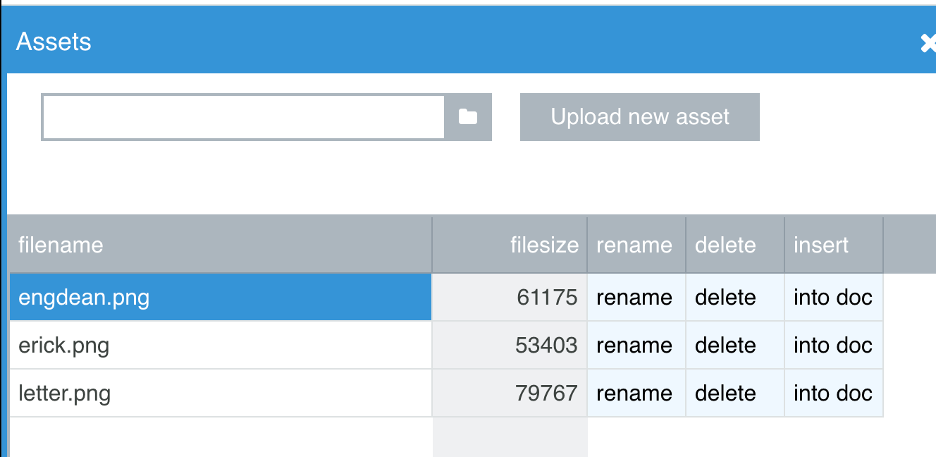
Onces assets are attached to a file, you can reference them in your file without specifying a path. f
eg: image::erick.png[sample picture]If you wish, you can use AI to assist with the documentation process, just press AI and it will make suggestions you can choose to cut and paste or ignore if you prefer.

To publish your finshed page, just hit Publish.
Then Close, going back to the file menu, press Live to get the URL like to the live site. _
Often you will have collaborators or students assisting. Go to the main Projects menu, select manage, and add their userids, one per line.
This video is 2 minutes long